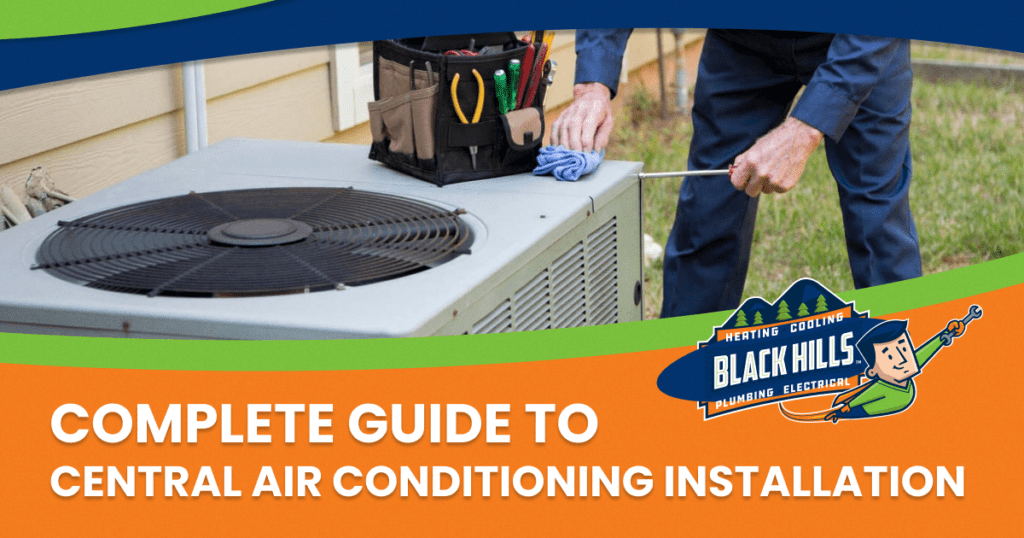
Central air conditioning installation requires many considerations. We do not recommend doing it yourself, as this risks serious injury. It can also result in costly damage to the system. Only a licensed HVAC installer should take on the job. They are trained and knowledgeable in all aspects of AC installation to ensure you get the most out of your investment. In this guide, we will cover the major steps and considerations for installing a central AC system.
Types of Central AC Systems
In most homes, you’ll find a split system that features indoor and outdoor components. The blower and evaporator coil are in the air handler, while the condenser coil and compressor are contained in an outdoor unit. Both are connected by refrigerant lines.
For homes without ductwork, a ductless mini-split system may be installed. It also uses an outdoor unit, which is connected to air handling units serving individual rooms. This configuration provides more control over temperature and energy use.
A heat pump is a type of split system capable of heating and cooling. It can draw heat from or release it to the outside air, while a geothermal system extracts heat from underground. Combining an electric AC system and a heat pump, a packaged air conditioner installs on the roof. A more flexible solution, it conserves indoor space and is more often used for commercial buildings.
Additional Central AC Components
The indoor and outdoor units aren’t the only components installed during central air conditioning installation. Installing ductwork adds to the cost and you must have space for it. And even if you have existing ductwork, it may need to be repaired or reconfigured during the installation process. Duct sealing is an important step as air leakage can drastically reduce efficiency. Indoor air quality solutions, such as a whole-home dehumidifier, high-efficiency air filter, or whole-home air purifier, may also be recommended.
Selecting a Unit
Selecting an AC unit is an important step in the process. Contractors perform a Manual J load calculation, a standardized method of sizing an air conditioner developed by the Air Conditioning Contractors of America. It is essentially a heat gain calculation that factors how your home is oriented towards the sun, how well your home is insulated, and the types, number, and placement of doors and windows.
Also important in choosing a central AC are:
- Size: Central air conditioner size is expressed in British Thermal Units(BTUs)/hour or tonnage. There are 12,000 BTUs in one ton and 30,000 BTUs in a 2.5-ton AC. If the unit is undersized, your home won’t get cool enough and the system will burn more energy by running longer. But if it’s oversized, it will cost more to operate and won’t run long enough to dehumidify your home, possibly leaving rooms feeling warm as well as clammy and damp.
- Efficiency: An air conditioner’s efficiency is rated using the seasonal energy efficiency ratio, or SEER. Efficiency is measured by how many BTUs the system can remove for each watt of electricity consumed. The higher a unit’s SEER number, the more efficient it is overall and the less energy it consumes at lower temperatures. A SEER of at least 13 is required by federal law.
- Placement: Condenser placement is important because this component always makes some noise. Therefore, you don’t want it adjacent to a bedroom or home office. Also, it should not be placed in an enclosed area, as restricted airflow can overheat the condenser and reduce the system’s efficiency. As long as air can circulate, the unit can be blended in with your landscaping.
Cost
In a 2,000-square-foot home with a forced-air heating system, adding or replacing central air conditioning can cost around $3,500 to $4,000. The process takes about two to three days.1 Between equipment costs and extra work time, installing ducts can double the expense and timeline. The split between labor and materials is generally 60/40.
Central Air Conditioning Installation Process
The main steps to the installation of your new central AC system are as follows:
- Ductwork Installation: Ducts are often placed behind drywall, but sometimes in closets or soffits to avoid wall repair, or existing ducts are modified.
- Interior Unit Placement: The evaporator coil is installed in the furnace plenum, from where air enters and is distributed throughout your home.
- Exterior Unit Placement: The unit is placed factoring in noise, ground leveling, the distance to the interior unit and electrical panel, and codes that specify distances from gas or water meters.
- Line Set Connection: The outdoor and indoor components are connected by copper pipes that carry the refrigerant; these lines are routed via the most direct path.
- Electrical Lines Are Run: An exterior shutoff is installed for the condenser unit and an electrical line is run from the shutoff switch to the service panel. If necessary, the panel will be upgraded to handle the extra load. A low-voltage wire from the condenser to the furnace is installed for the thermostat.
- Condensate Drain Line Installation: For basement units, the line is run to a floor drain; with attic units, water may be funneled outside or a drain pan is used for evaporating water.
- The Thermostat Is installed: You’ll likely need an updated thermostat. Some homeowners have the skill to do this, but it’s recommended you let the HVAC contractor properly install it.
Contact Sky Heating & Air Conditioning
Lastly, you need a contractor experienced and reputable in central air conditioning installation. At Sky Heating & Air Conditioning, we specialize in central AC installation as well as repairs and maintenance. We can provide higher efficiency systems with variable speed technology, quiet operation, and programmable thermostats. Our technicians will also help you decide when it’s time to replace an older system. In addition to sizing and custom design, we also offer specials, maintenance plans, and financing to help you save. Call 503-673-9083 to learn more.

